A first-day checklist: look over the agent our team set up for you, try it, adjust its greeting, and get ready to go live.
By the end of this page you will have looked over the agent our team built for you, talked to it yourself, adjusted
its greeting if you want to, checked that it is on your website and your phone line, cleared your account for
calling, and invited your team. Allow about 15 to 30 minutes, once our team has set your agent up: most steps are
a look and a click.
Getting started is done for you. After you choose a plan, our team builds your first agent (we call each
assistant an agent), gives it a voice and sets up what it needs to search your products and help your customers.
Until it is ready, your Dashboard shows “Setting up your AI agent”. You can start this checklist once the
Dashboard shows your figures.
Several steps change things, and only an owner can make changes. If you are a member, you can follow every
step to look, and ask an owner for the changes. See Who can do what.
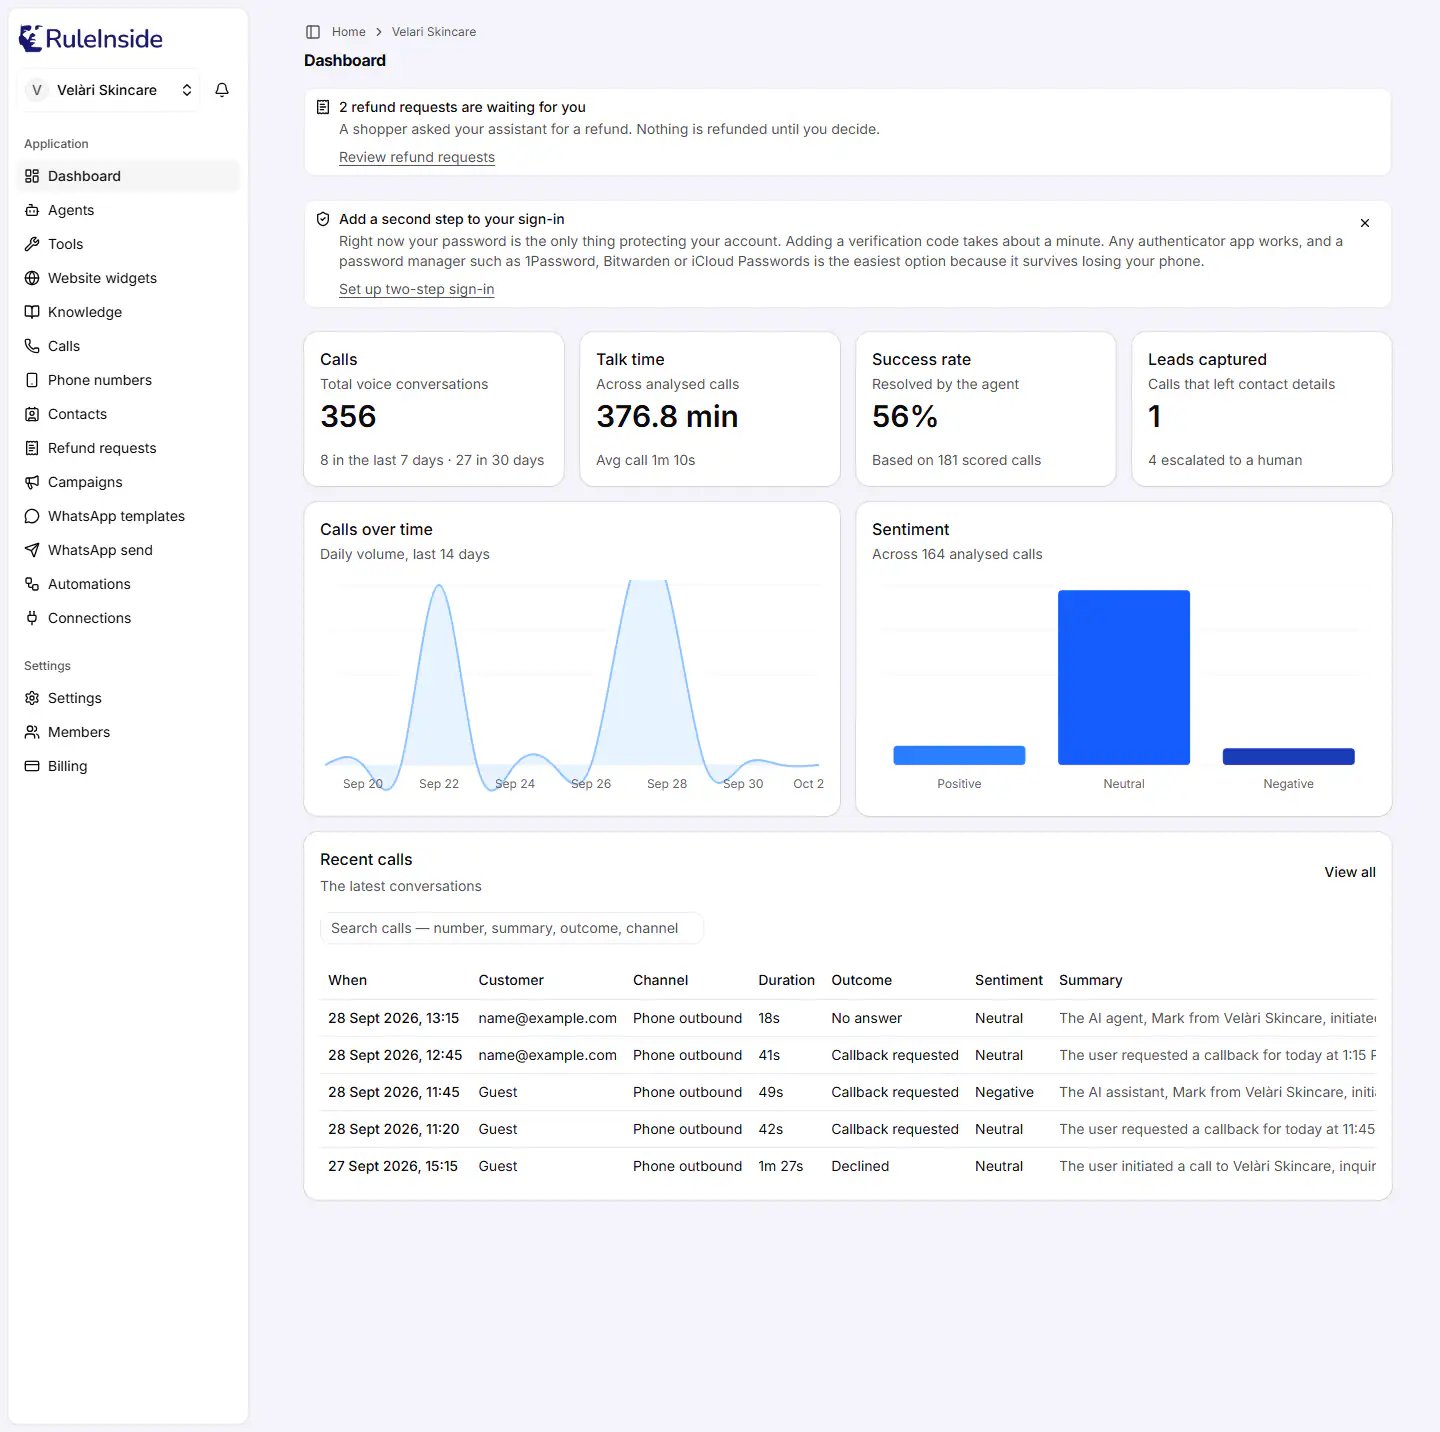
Sign in on Sign in to your account with your email and password. The Dashboard opens first.You should see four figures (Calls, Talk time, Success rate, Leads captured), a 14-day chart and
your five most recent calls. On a new account the figures may still show zero or a dash.Read any notice at the top. A red “Outbound calling is paused” is expected on day one: you clear it in step
8. See Dashboard.
The Dashboard: the four figures, the charts and your recent calls.
2
Open your agent and read its greeting and instructions
Click Agents in the sidebar. The editor of your main agent normally opens, marked with a Managed badge. In the
header, note the edit level badge: it tells you what you can change on this agent (View only, Name,
voice & greeting, Instructions or Full control).Read the First message card: it is what callers hear first. Then read the System prompt card, which
holds how the agent is told to behave. Depending on the edit level, the instructions are shown under Current
agent instructions (managed) (click Show if they are folded away), or in one box you can edit.See Agent settings and Edit levels.
3
Talk to it with Preview
Owners only. In the editor header, click Preview. Choose Text or Voice, then Start text chat or
Start voice call. For voice, your browser asks for permission to use the microphone. When the status reads
Connected, talk or type as a shopper would. Click End when you are done.Preview talks to the real agent with its saved settings. It treats you as a guest, not as a customer logged in
to your store. We suggest you ask it about a product you sell and about one of your policies.See Testing an agent with Preview and Testing.
4
Change the greeting, if your edit level allows
You need the Name, voice & greeting level or above. In the First message card, edit the text (up to
1,000 characters). Keep a mention that the caller is talking to an AI assistant and that the call may be
recorded.A bar appears at the bottom of the page. Click Save changes. You should see “Agent updated.”, and the
change applies to the live agent. Run Preview again to hear it.If the box is greyed out, your agent is at View only or you are a member. Email us the wording you want.
See First message and Writing instructions.
5
Check the agent's knowledge
Click Knowledge in the sidebar. The list shows the documents your agent answers from: ours are marked
Managed, and yours appear below them.Adding your own documents needs an owner and an agent at Full control. If you see “This agent is managed,
its knowledge is configured by RuleInside.”, send us the policies or FAQs you want added. See
Knowledge.
Knowledge: the documents attached to the agent.
6
Check your website assistant and the plugin
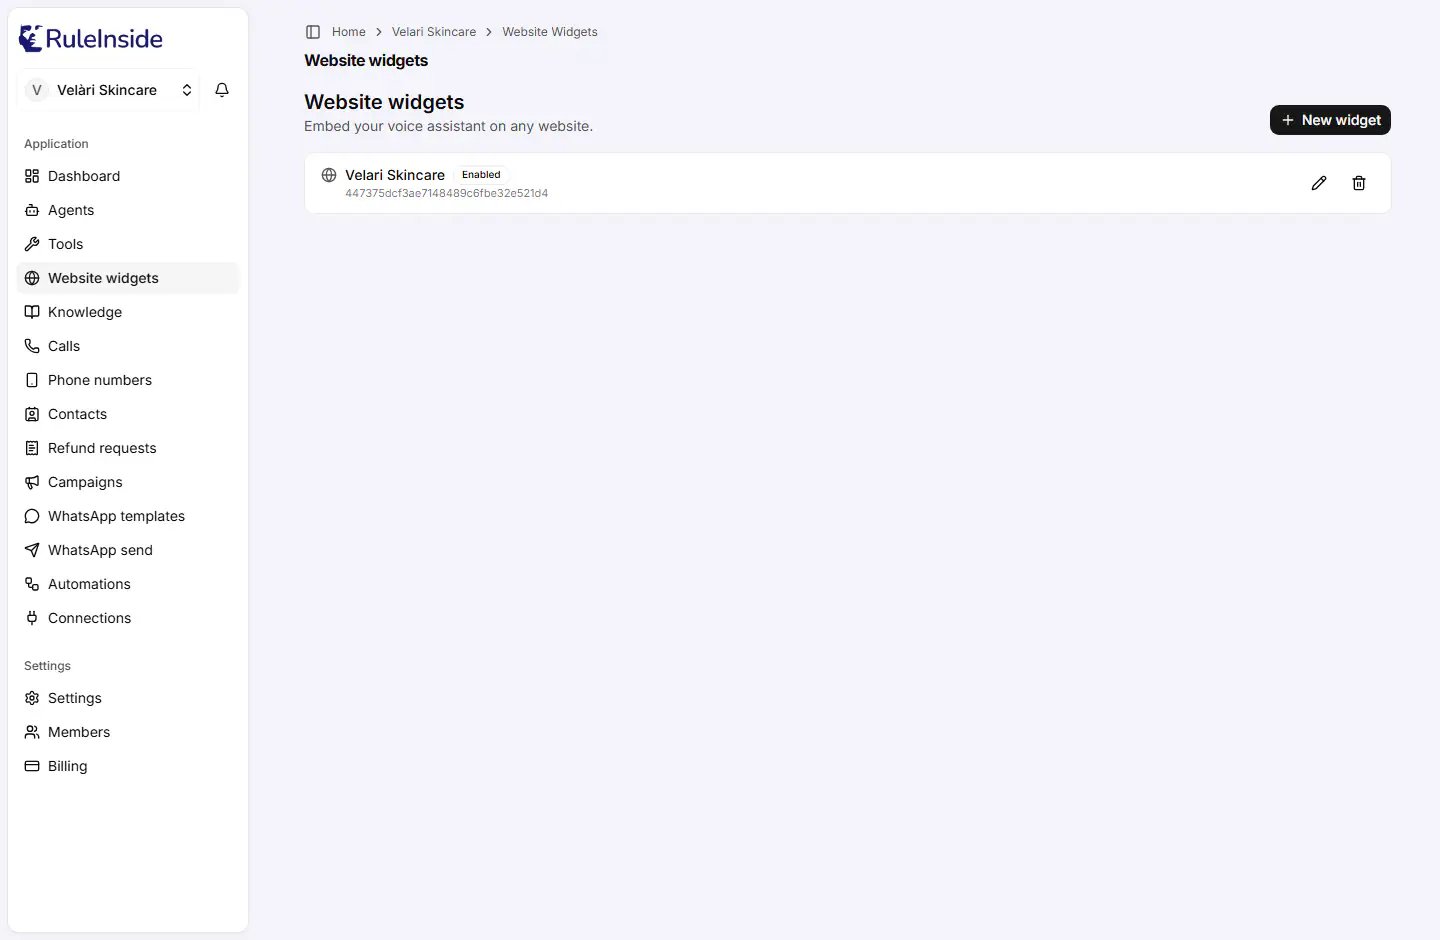
Click Website widgets in the sidebar. Your widget’s row should show your agent’s name and an Enabled
badge. Click the pencil to open it, and check that your store’s address, starting with https://,
is in Allowed domains: the widget appears only on the websites listed there.With the RuleInside plugin on WordPress: get it from Settings, Plugin tab, Download plugin. In your
WordPress admin, open the RuleInside menu and paste the widget’s embed id into Widget ID. For
automatic plugin updates, an owner clicks Create licence key and pastes the key into License Key.
Without the plugin, copy the Embed snippet from the widget editor into your site’s HTML.If no widget is listed yet, an owner can create one with New widget. See
Website assistant and WordPress plugin.
Website widgets: one row per widget, with its status and embed id.
7
Check your phone number, if you have one
Click Phone numbers in the sidebar. Look at the Inbound agent column for your number: it should show
your agent’s name. A dash means no agent answers calls to that number; an owner fixes it with Assign.A phone campaign also needs a number that can place outbound calls. We suggest you call your number from your own phone
once, then find the call under Calls. See Phone numbers.
8
Confirm calling consent before any campaign
Owners only. Open Settings, then the Calling consent tab. Choose Country your account trades in,
read the statement in full, tick I have read the above and confirm it is true. and click Confirm. You
should see “Confirmed. Outbound calling is cleared for this account.”Until an owner confirms, no calls and no WhatsApp messages are sent, even to customers who agreed to be
contacted. On the same tab, check Calling hours and days: by default your agent calls between 08:00 and
21:00, every day, in each customer’s own time.Each customer also needs their own consent recorded before they can be contacted. See
Calling consent and calling hours and Contacts.
Settings, Calling consent: the confirmation and the calling hours and days.
9
Invite your team
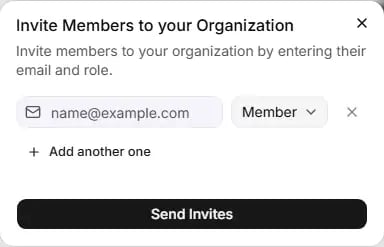
Click Members in the sidebar, then Invite Members. Type each person’s email, choose Member or
Owner, and click Send Invites. You should see “Members invited successfully”. Each person gets an
email with a link that works for 7 days.We suggest Member for people who follow what the assistant does, and Owner only for people who decide
how it contacts customers and who manage billing. Adding people never changes your bill. See
Members.
Invite up to five people at a time, each with their own role.
Your subscription is active and our team is still building your agent. There is nothing to do: the figures
appear as soon as the agent is live. If you see Subscribe to activate your AI agent or Complete payment to
activate your AI agent instead, follow its button to Billing.
Fields are greyed out or show a padlock
Either you are a member, not an owner (you then see “Only account owners can change agents, ask an owner of your
team to make edits.”), or the agent’s edit level does not include that setting. Your main agent is often below
Full control. See Edit levels, or email us the change you want.
The Preview button is missing
Only owners see Preview (and New agent). Ask an owner of your team, or ask to be made an owner on
Members.
Preview does not use my latest change
Preview uses the agent’s saved settings. Closing a side panel does not save it: click Save changes in
the bar at the bottom of the editor, wait for “Agent updated.”, then start a new Preview.
I changed the greeting, but a signed-in shopper hears something else
On your website, a signed-in shopper your store recognises can hear the widget’s Returning-shopper
greeting instead, on voice conversations. Change it in the widget editor. See
The returning-shopper greeting.
I don't see the assistant on my site
Check these in order:
Your site’s exact address, starting with https://, is in Allowed domains.
Widget enabled is switched on, and you clicked Save changes.
The snippet on your site, or the plugin’s Widget ID, holds the current embed id.
Your account is active and on a paid plan.
You have not reached today’s conversation limit: look for a notification in your portal.
On Phone numbers, the number’s Inbound agent is a dash, so no agent answers it. An owner clicks
Assign and chooses an agent. See Phone numbers.
The New campaign button is grey, or missing
The New campaign button is greyed out while your workspace is not linked to a store yet: contact us. Members
see “Only account owners can manage this: ask an owner of your team.” instead of the buttons. In the form,
Create draft stays grey until every required field is filled, and you need a number that can place outbound
calls (see Phone numbers). See Campaigns.
A red notice says Outbound calling is paused
Your store has not confirmed its calling consent. An owner clicks Review and confirm and confirms under
Settings, Calling consent. The notice cannot be dismissed: it disappears once you confirm. See
Calling consent and calling hours.
I can't add a document on Knowledge
Adding documents needs an owner and an agent at Full control. Your main agent is often below it: send us the
document and we add it. See Knowledge.
My colleague never got the invitation
Ask them to check their junk folder. If it is still missing, remove the invitation and invite them again: Renew
Invitation does not send a new email. They must accept with the same email you invited. See
Members.